This tab allows users to change the coordinates of the model and create a base.
Major functions: Re-Orientation, Create Mx/Md Base functions
other than major functions are supplimental.
※Notes
Check if Mx/Md has corrct occlusal and if not rescan is required.
Re-Orientation
This function rotates the model to face the front.
동영상 재생
※Notes
Coordinates of the model may differ by scanner manufacture.
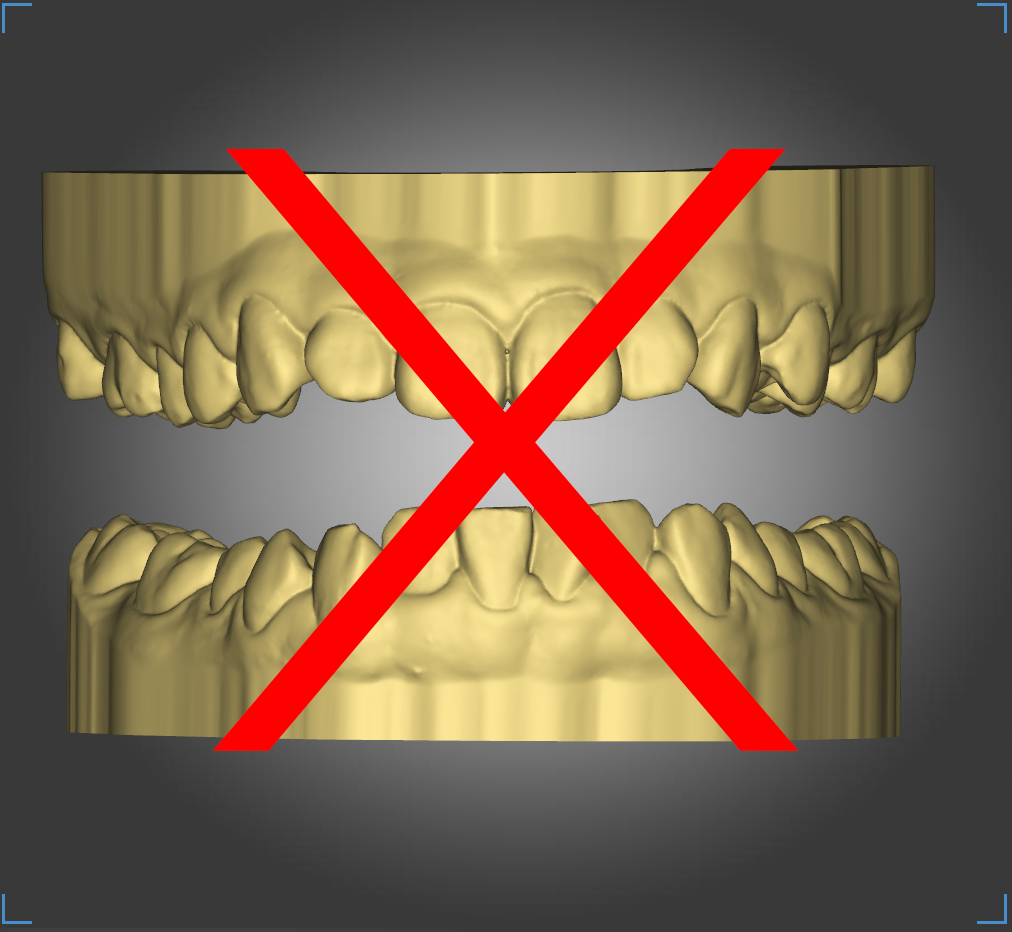
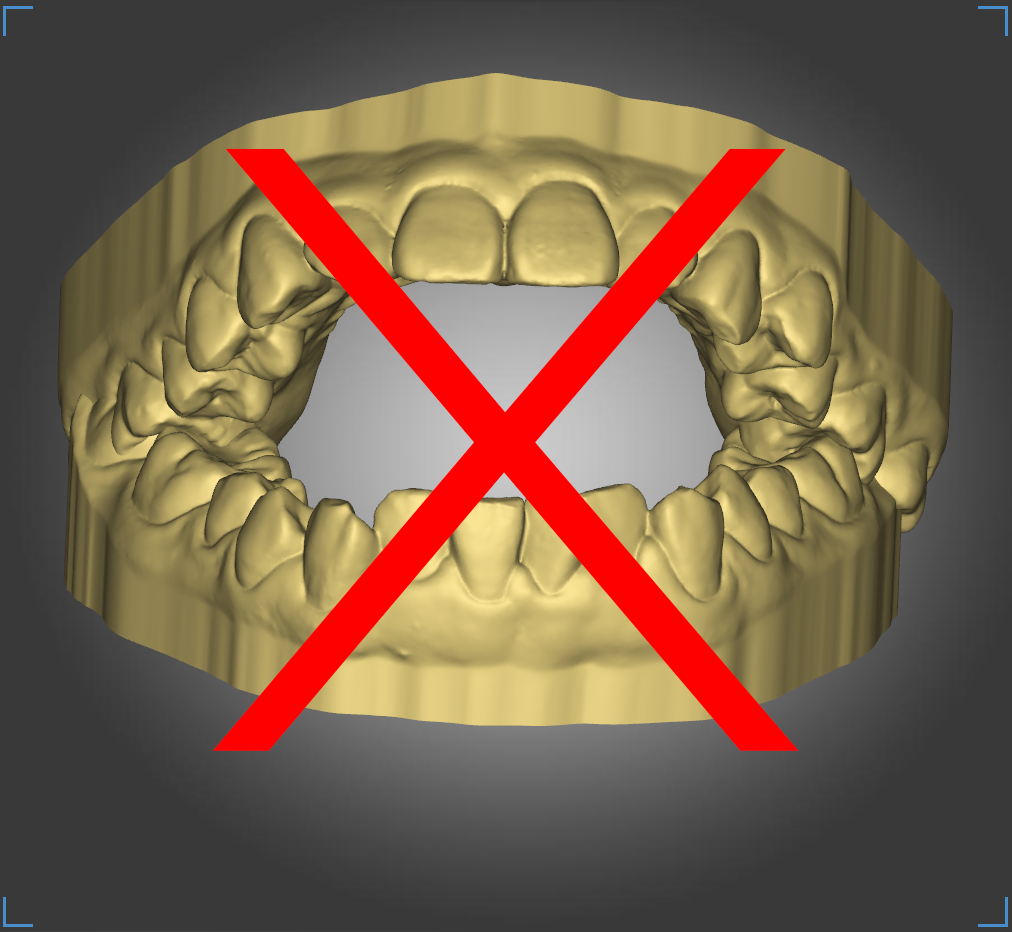
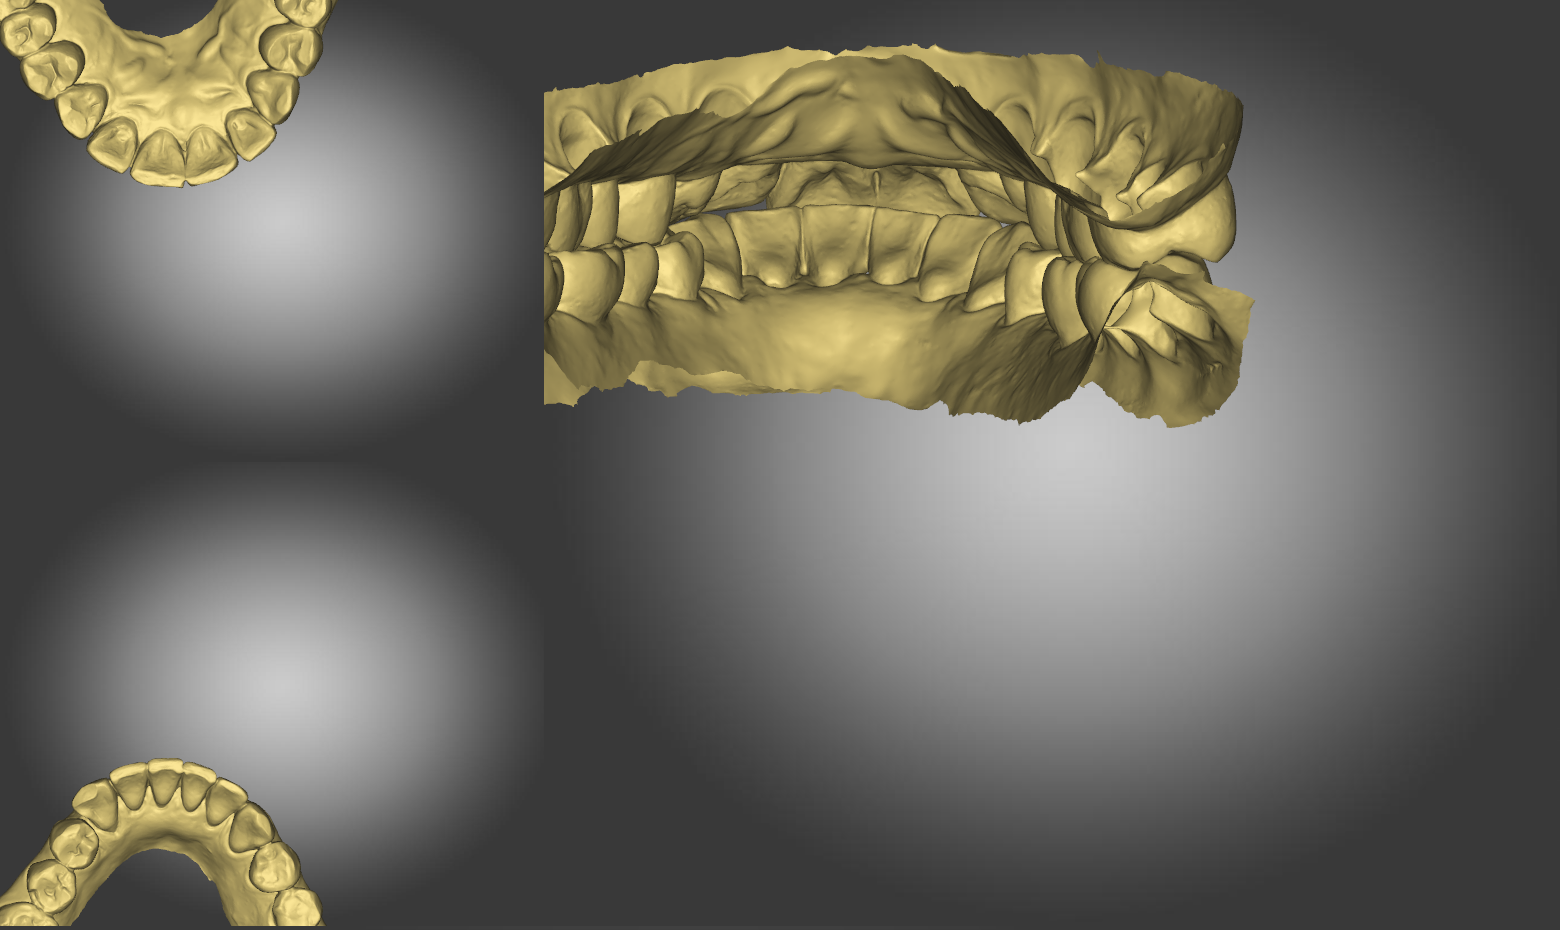
Abnormal
Abnormal
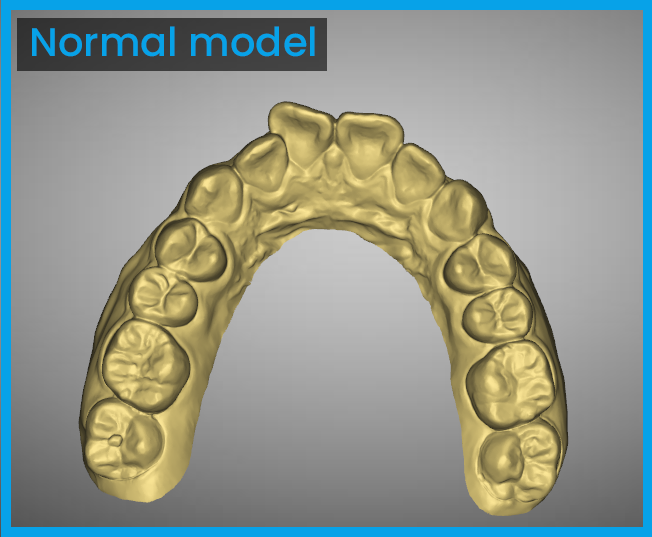
Normal
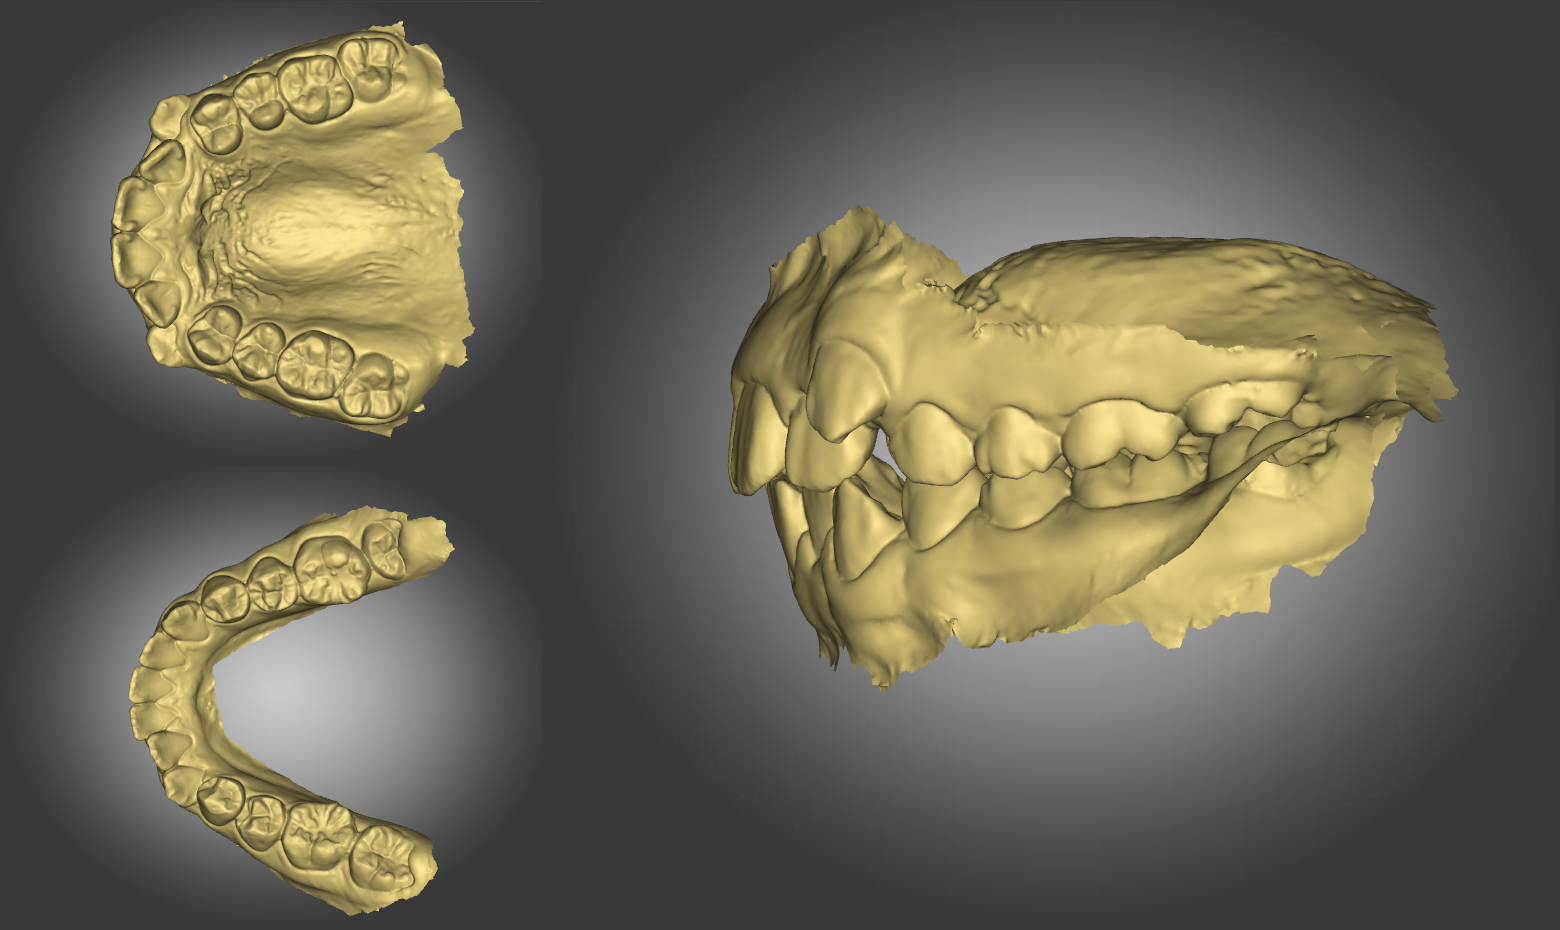
1. Reference Point
: This step sets 3 reference points for re-orientation.
Click the right molar, anterior teeth and left moalr area to set the reference point.
Undo reference point: Right click.
※Notes
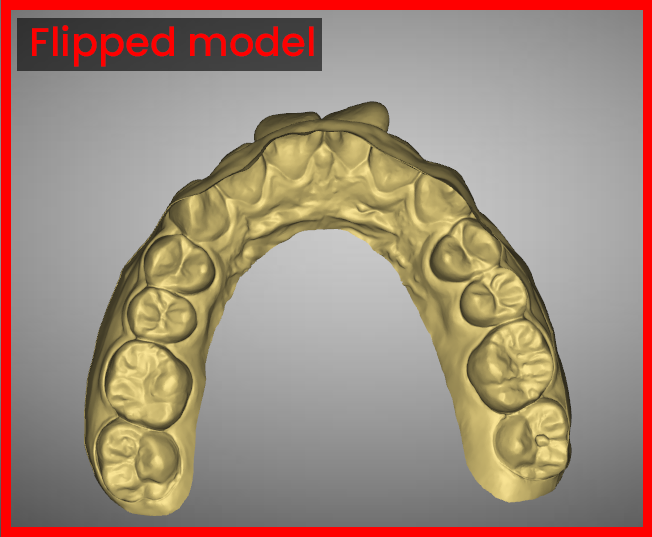
If the model is flipped, flip it back, then set 3 reference points.
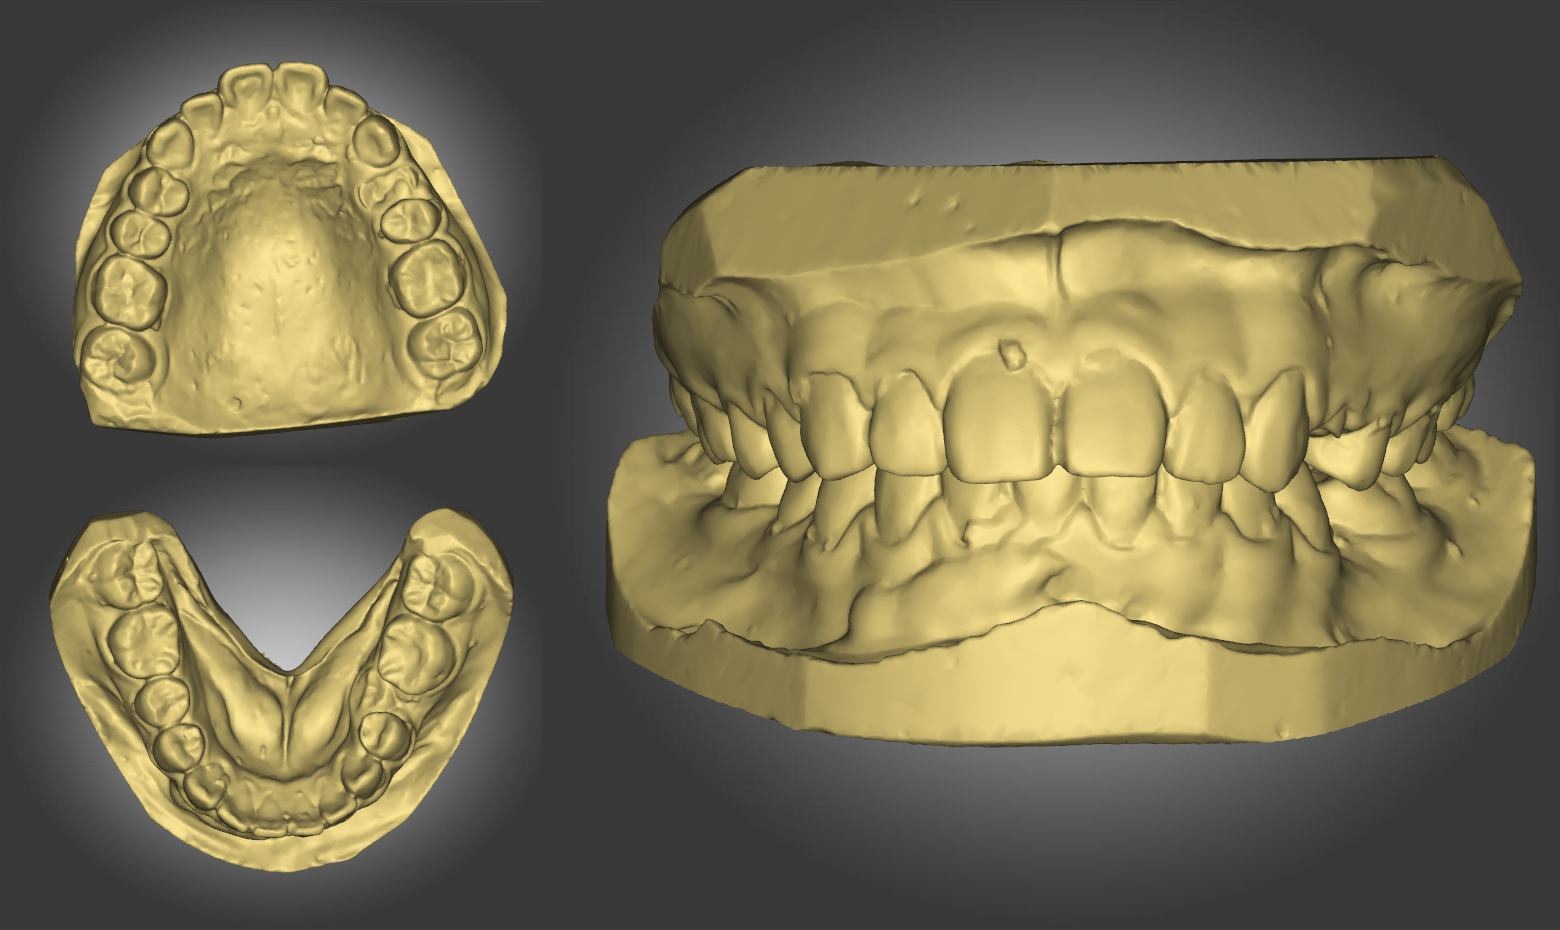
2. Re-Orientation
: This step adjusts the position of Mx/Md.
Use control arrows to adjust.
3. Mx, Md
: This step adjusts the position of both Mx and Md in case of wrong position.
Use control arrows to adjust.
Create Mx / Md Base
This function is to trim unnecessary area and to create base.
동영상 재생
1. Region
: Select area to trim.
Hold Ctrl + Left click to select the area.
Return to starting point to finish.
Point move: Left click and drag the point.
Add point: Right click on the line.
Delete point: Right click on the point.
※Notes
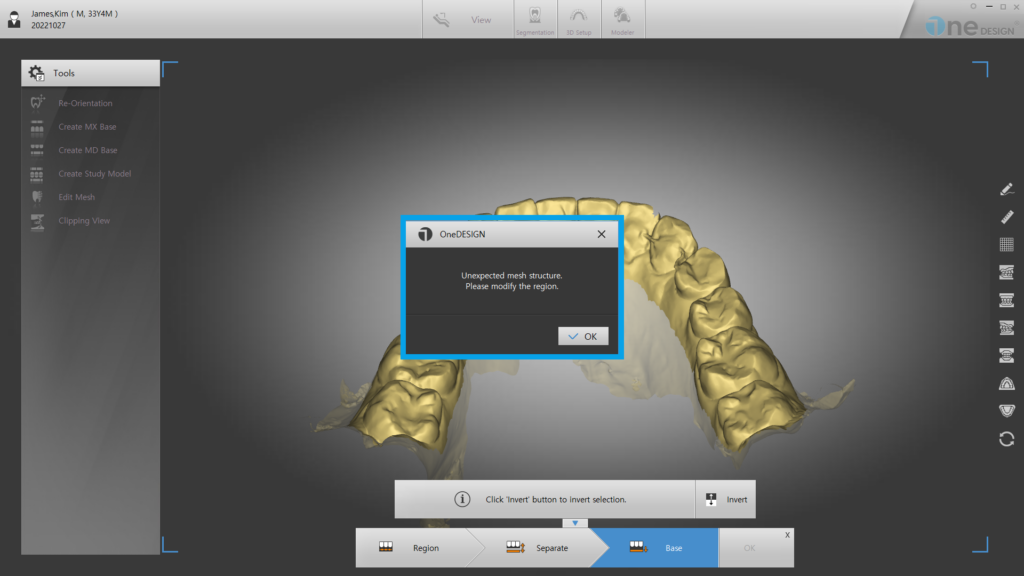
If the message “Unexpected structure” is displayed during the base creation, it means that there are defects on the scan model. Please send the 3D file to dentone customer center. We will deliver repaired model shortly, and you may restart with repaired file.
2. Separate
: Display trimmed area along necessary area.
3. Base
: Choose the height of the base.
Adjust the height with the control arrow.
4. Plane
: Unnecessary area shall be trimmed and base shall be created.
Create Study Model
This function creates a standard study model.
1. Region
: Select area to trim.
Hold Ctrl + Left click to select the area.
Return to starting point to finish.
Point move: Left click and drag the point.
Add point: Right click on the line.
Delete point: Right click on the point.
2. Base Design
: This step sets the shape of the Study Model.
You can set the shape of the base using the auxiliary tool bar.
3. Edit
: This step is to modify the study model.
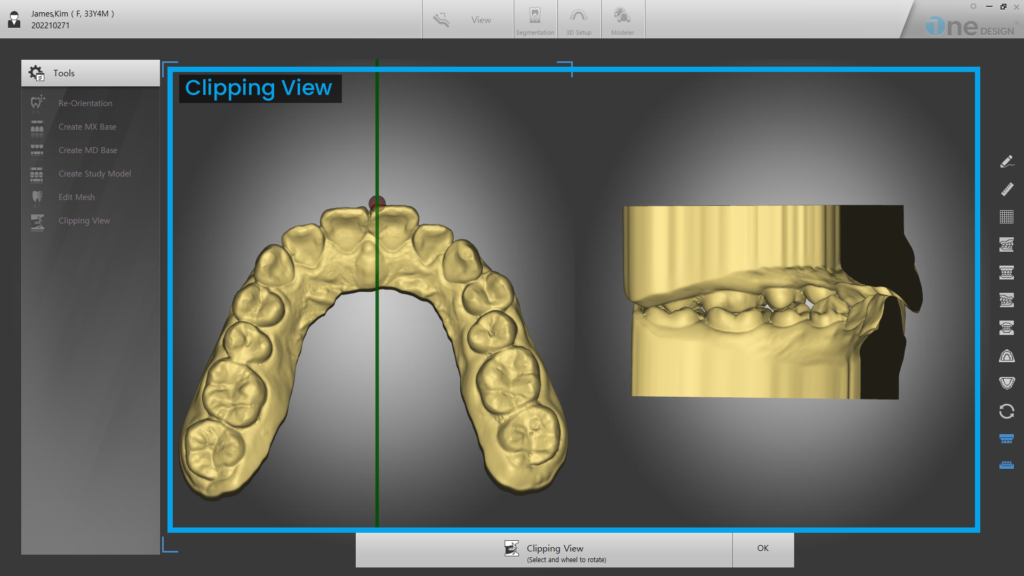
Edit Mesh
This function allows users to adjust surface area of the model.